- AME CAPITALS
- Trading Technology
- How to use AutoTrade by AME Capitals
- Login and Main Page
- Navigation
- Trading Accounts
- Managing Existing Bots
- Adding a Bot
- Trading Analysis
- History of All Account Operations
- Two-Factor Authentication
Login
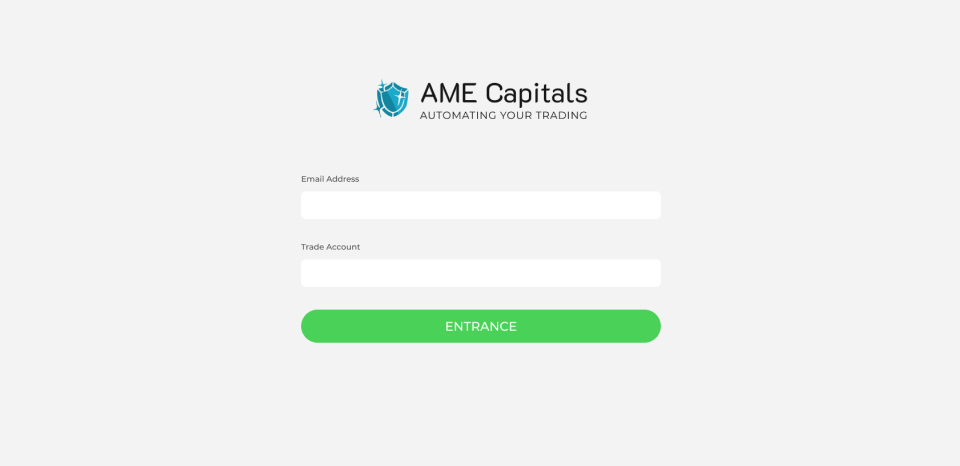
 To Login, enter your Email, password and click "Entrance".
Home Page
After logging in, you will be directed to the home page.

Navigation (menu)
Desktop (computer version), mobile version


Credit - Credit funds
Equity - Liquid capital
Gross Balance - Profit
Margin - Margin
Balance - balance
Free margin - free funds
Margin level - Free Margin
Profit - net profit

Edit - change

Symbol – Symbol
Interval – Trading period
Action – Actions
Start / Stop – Start / Stop
Close all – Close all positions (During operation, the bot opens many positions, the Close all button closes them all)

• Trade Account – Trading account
• Symbol – Symbol
• Interval – Trading period
• Positions – Direction
• Lot Multiplicator – Volume Multiplier
• Take Profit – Take profit
• Risk Percent – Percentage of risk
• Step – Step
• Position Lot – Trading Volume
• Max Trades – The maximum number of trades
• Constant lot – constant volume
• Total EquityRisk – Liquidity Risk
• Martingale – Martingale
• Use Equity Stop – Use Stop Out

• From / To – From / To (Select period for analysis)
• Symbol – Symbol (Choose a trading pair)
• Interval – Trading period
• Lot Multiplicator – Volume Multiplier
• Positions – Direction
• Position Lot – Trading Volume
• Take Profit – Take profit
• Constant lot – constant volume
• Step – Step
• Martingale – Martingale
• Max Trades – The maximum number of trades
General information

• Total orders - Total number of transactions
• Volume – Volume
• Profit – Profit
• Earned Value
• MaxLoss – Maximum loss
Detailed Data

Export Data - Export data (Download analysis table in .CSV format)


Step 1 – Download and Install the Google Authenticator App
Step 2 – Click on the + button then select 1 of the options for connecting two-factor authentication scan the QR code or enter the code manually

The code is on the 2FA page


